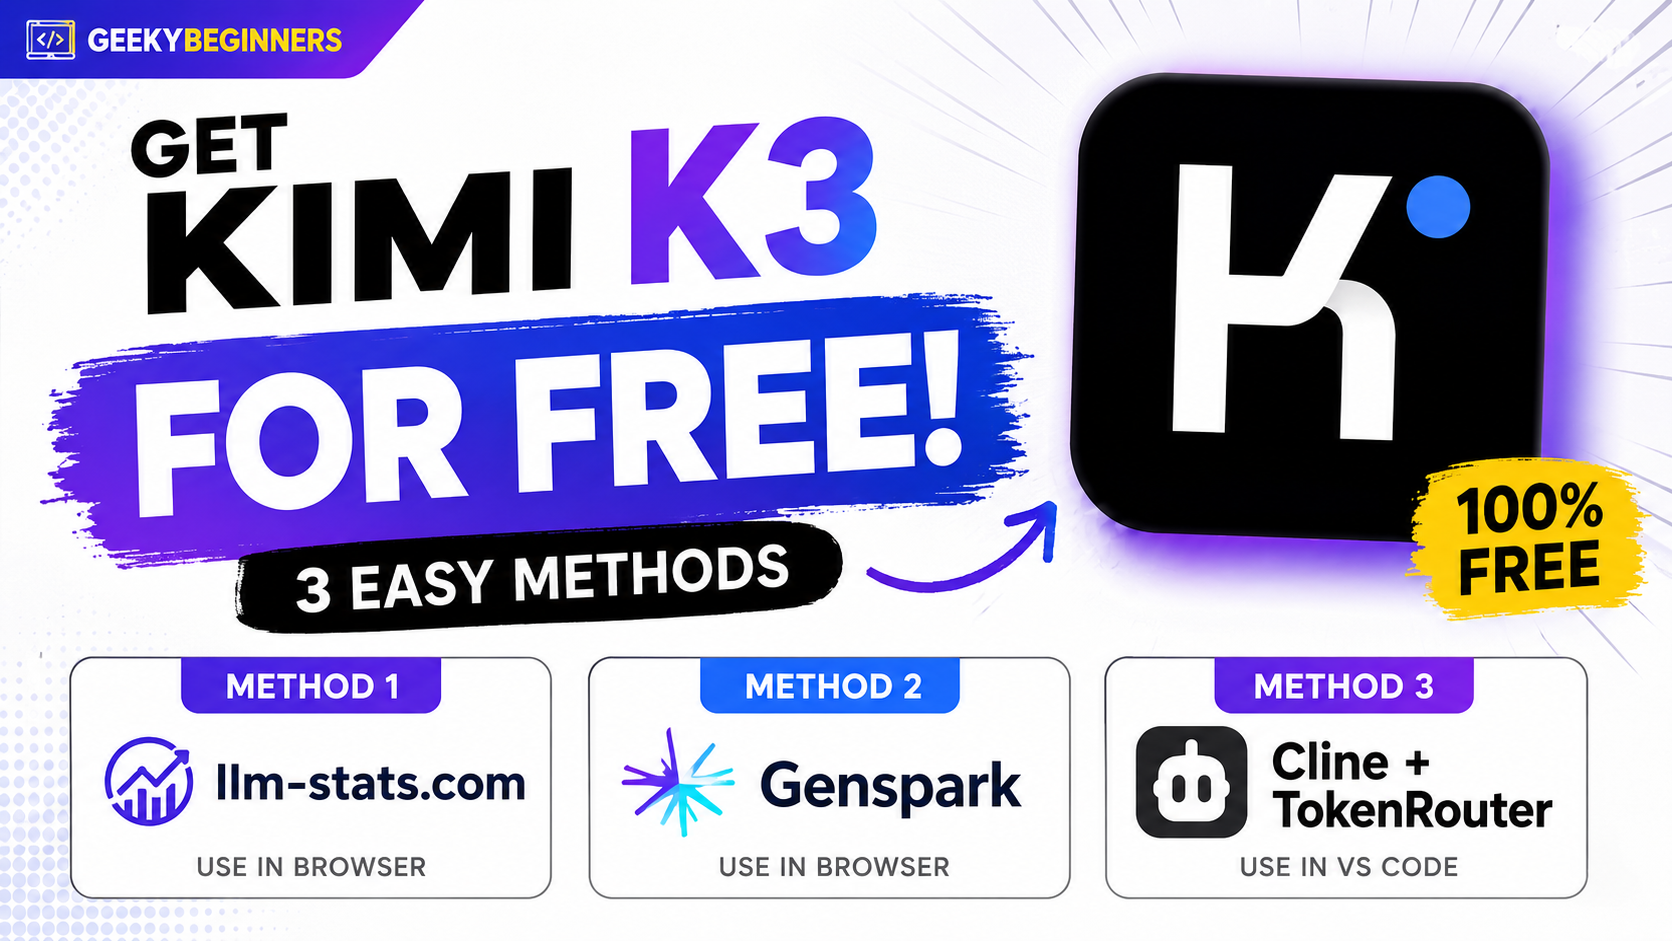
AI models are getting more powerful, but accessing the latest models can often require paid subscriptions or API credits. If you want to experiment with Kimi K3 without paying, there are a few platforms that make it possible.
In this guide, I’ll show you three different ways to use Kimi K3 for free. Two methods work directly inside your browser, while the third lets you integrate Kimi K3 with VS Code for AI-assisted coding.
We’ll cover:
- Using Kimi K3 with LLM Stats
- Using Kimi K3 with Genspark AI
- Using Kimi K3 in VS Code with TokenRouter and Cline
To compare all three methods, I’ll give Kimi K3 the same coding prompt and ask it to create a complete Snake Game using HTML, CSS, and JavaScript.
Watch the Full Video Tutorial
If you prefer following along visually, you can watch my complete step-by-step tutorial below. In the video, I demonstrate all three methods and test the generated Snake Game in real time.
Prompt Used to Test Kimi K3
To make the comparison fair, I used the same prompt across all three methods.
You can copy the exact prompt below and try it yourself:
Create a fully functional **Snake Game** using **HTML, CSS, and vanilla JavaScript**. Keep **all HTML, CSS, and JavaScript code inside a single `index.html` file** with no external dependencies.

Requirements:

* Classic Snake gameplay on a grid.
* Control the snake using **Arrow Keys / WASD**.
* Randomly spawn food and increase the snake’s length after eating.
* Display the **current score and high score**.
* Increase difficulty/speed as the score increases.
* Detect wall and self-collisions and show a **Game Over** screen.
* Include **Start, Pause, and Restart** functionality.
* Use a clean, modern, responsive UI.
* Add subtle animations and polished game visuals.
* Make the game playable immediately by opening `index.html` in a browser.

Write clean, well-structured, and commented code. Do not create any additional files.
What I Asked Kimi K3 to Build
The goal was to create a fully functional Snake Game with:
- HTML
- CSS
- Vanilla JavaScript
- Complete game logic
- Everything contained inside a single HTML file
Using the same prompt makes it easier to compare the quality, speed, and coding capabilities of Kimi K3 across different platforms.
Method 1: Use Kimi K3 with LLM Stats
The first method is LLM Stats, a platform where you can explore and interact with different AI models.
After opening LLM Stats, you’ll find an AI leaderboard containing several popular AI models.
To start using Kimi K3, open the Playground.
Inside the Playground, you’ll see two main categories of models:
- Max – Designed for maximum performance.
- Flash – Designed to provide better value and faster access.
Open the model selector and choose a specific model.
You’ll see several AI models available across the Max and Flash categories. Select Kimi K3 from the available models.
Create an Account
When you send your first prompt, LLM Stats may ask you to create an account.
You can quickly authenticate using your Google account and complete the initial setup.
Once your account is ready, return to the model selector and make sure Kimi K3 is selected.
Now you can start prompting the model.
Testing Kimi K3 with the Snake Game
For the test, I pasted the Snake Game prompt shared above and submitted it to Kimi K3.
After submitting the prompt, Kimi K3 started thinking and eventually generated the application.
One particularly useful feature of LLM Stats is that you can preview and run the generated HTML directly from the platform.
The generated Snake Game worked correctly. The score and high score were updated while playing, and the game even increased the snake’s speed as the player progressed.
Overall, the result was impressive.
Method 2: Use Kimi K3 with Genspark AI
The second method is Genspark AI.
Genspark provides access to several AI models and gives users credits that can be used to experiment with models such as Kimi K3.
After opening Genspark, select the AI Chat option and create an account. Google authentication can be used to quickly complete the signup process.
Once you’re inside the AI Chat interface, open the model selector.
You should see several AI models available.
Choose Kimi K3.
Understanding the Credit System
One thing you should pay attention to when using Genspark is its credit system.
Different models consume different amounts of credits.
For example, some premium models can consume significantly more credits per request, while Kimi K3 may consume fewer credits.
At the time demonstrated in the video, the account displayed 100 daily credits, making it possible to experiment with Kimi K3 without immediately paying for API access.
Keep in mind that credit limits and model availability can change over time.
Testing the Same Snake Game Prompt
To make the comparison fair, I used exactly the same Snake Game prompt that I used with LLM Stats.
Kimi K3 quickly started generating the code.
Once the generation was complete, I copied the HTML code.
Next, I created a folder on my desktop called:
snake-game
I opened the folder inside VS Code and created:
index.html
Then I pasted the generated code into the file and saved it.
After that, I opened the HTML file in my browser.
The Result
The generated game looked surprisingly polished.
It included:
- A Start Game button
- Live score tracking
- High-score tracking
- Pause functionality
- Restart functionality
- Game-over screen
- Arrow-key controls
- WASD controls
The controls were also responsive. Whenever I pressed a direction key, the snake moved correctly in that direction.
After intentionally triggering a game over, the game correctly displayed the final score and high score.
For a game generated from a relatively simple prompt, the result was excellent.
Method 3: Use Kimi K3 in VS Code with TokenRouter
The first two methods allow you to interact with Kimi K3 through a browser.
But what if you want to use Kimi K3 directly inside your coding environment?
That’s where the third method comes in.
For this method, we’ll combine:
TokenRouter + Cline + VS Code + Kimi K3
This setup allows you to interact with the AI model directly from your development environment.
Step 1: Open TokenRouter
Start by opening TokenRouter and checking its available models.
Find the Kimi K3 model and take note of its model ID.
During the demonstration in the video, TokenRouter was offering free access to the Kimi K3 model until a specified date. Offers like this can change, so always check the platform for the latest pricing and availability.
Next, create an account.
Google authentication can be used to make the process faster.
Step 2: Generate an API Key
Once you’ve created your TokenRouter account, generate an API key.
Go to the API key section and select:
Create API Key
Give your key any name you want. For example:
test
You can then configure its expiration settings.
If TokenRouter allows you to restrict an API key to a specific model, you can configure that as well. Otherwise, you can leave the model restriction blank.
Submit the form.
TokenRouter should then provide the information required to connect an external application, including your:
- Base URL
- API key
Important: Treat your API key like a password. Never publish it in a GitHub repository, screenshot, tutorial, or public project.
Step 3: Install Cline in VS Code
Now open Visual Studio Code.
Go to the Extensions section and search for:
Cline
Install the Cline extension.
After installation, you should see the Cline interface inside VS Code.
Open it and find the model/API configuration section.
Step 4: Configure TokenRouter in Cline
Now we need to connect TokenRouter with Cline.
For the API provider, use an OpenAI-compatible configuration.
You will need three important values:
Base URL
Copy the Base URL provided by TokenRouter and paste it into Cline.
API Key
Copy the API key you generated earlier and paste it into the OpenAI-compatible API key field.
Again, make sure you don’t accidentally expose this API key publicly.
Model ID
Return to TokenRouter’s model list and copy the model ID for Kimi K3.
Paste that model ID into Cline.
Once all three values have been entered correctly, save the configuration.
Your setup should now look something like this:
VS Code → Cline → TokenRouter API → Kimi K3
Step 5: Test Kimi K3 Inside VS Code
Now you can test whether everything is working.
Start with a simple message such as:
Hi
If the configuration is correct, the model should start processing your request and return a response.
In my test, Kimi K3 was also able to inspect the existing project directory and understand that I was working with a Snake Game project.
This is where using an AI model through an extension like Cline becomes particularly useful.
Instead of constantly copying code between your browser and VS Code, the AI can work much closer to your actual development environment.
Testing the Snake Game Again
Finally, I gave the VS Code setup the same Snake Game prompt provided earlier in this article.
Kimi K3 started thinking about the request and preparing the code.
However, there was one noticeable difference.
The TokenRouter + Cline setup was slower than the two browser-based methods during my test.
It still worked, but responses took longer.
So if you only want to quickly chat with Kimi K3 or generate some code, the browser methods may feel faster.
If you want the model integrated into your actual coding workflow, however, the VS Code approach can be much more useful.
LLM Stats vs Genspark vs TokenRouter
After testing all three methods, each platform had its own advantages.
| Platform | Where It Runs | Main Advantage | My Experience |
|---|---|---|---|
| LLM Stats | Browser | Built-in HTML preview | Good |
| Genspark AI | Browser | Good generated output | Best Snake Game output |
| TokenRouter + Cline | VS Code | Integrated coding workflow | Useful but slower |
Between the first two methods, I personally preferred the Snake Game generated through Genspark AI.
The output looked polished and worked very well.
However, LLM Stats had an important advantage: it allowed me to run the generated HTML directly on the platform.
With Genspark, I needed to copy the generated code into an HTML file and open it separately.
The third method is slightly different.
Using TokenRouter with Cline is more interesting for developers because Kimi K3 can be used directly inside VS Code. The downside during my testing was that it was noticeably slower than the browser-based alternatives.
Which Method Should You Use?
If you simply want to experiment with Kimi K3, start with LLM Stats or Genspark AI.
They are easier to set up because everything happens inside your browser.
If your primary goal is coding and you want Kimi K3 available inside your development environment, the TokenRouter + Cline + VS Code method is worth trying.
My experience from this test can be summarized as:
LLM Stats: Great for quickly generating and previewing HTML applications.
Genspark AI: Produced my favorite Snake Game result during the test.
TokenRouter + Cline: Better suited to an integrated VS Code workflow, although it was slower in my testing.
Final Thoughts
These are three practical ways to experiment with Kimi K3 without immediately paying for direct API access.
You can use browser-based platforms such as LLM Stats and Genspark for quick experimentation, or connect the model to VS Code through TokenRouter and Cline for a more development-focused workflow.
The Snake Game experiment also shows how capable modern AI models have become at generating complete applications from relatively simple instructions.
Instead of only generating small code snippets, they can produce functional interfaces, game logic, keyboard controls, scoring systems, and other features from a single prompt.
Just remember that free credits, promotional access, supported models, and pricing can change at any time, so check each platform’s current terms before getting started.
If you found this guide useful, you can also check out more AI, coding, and development tutorials on GeekyBeginners.