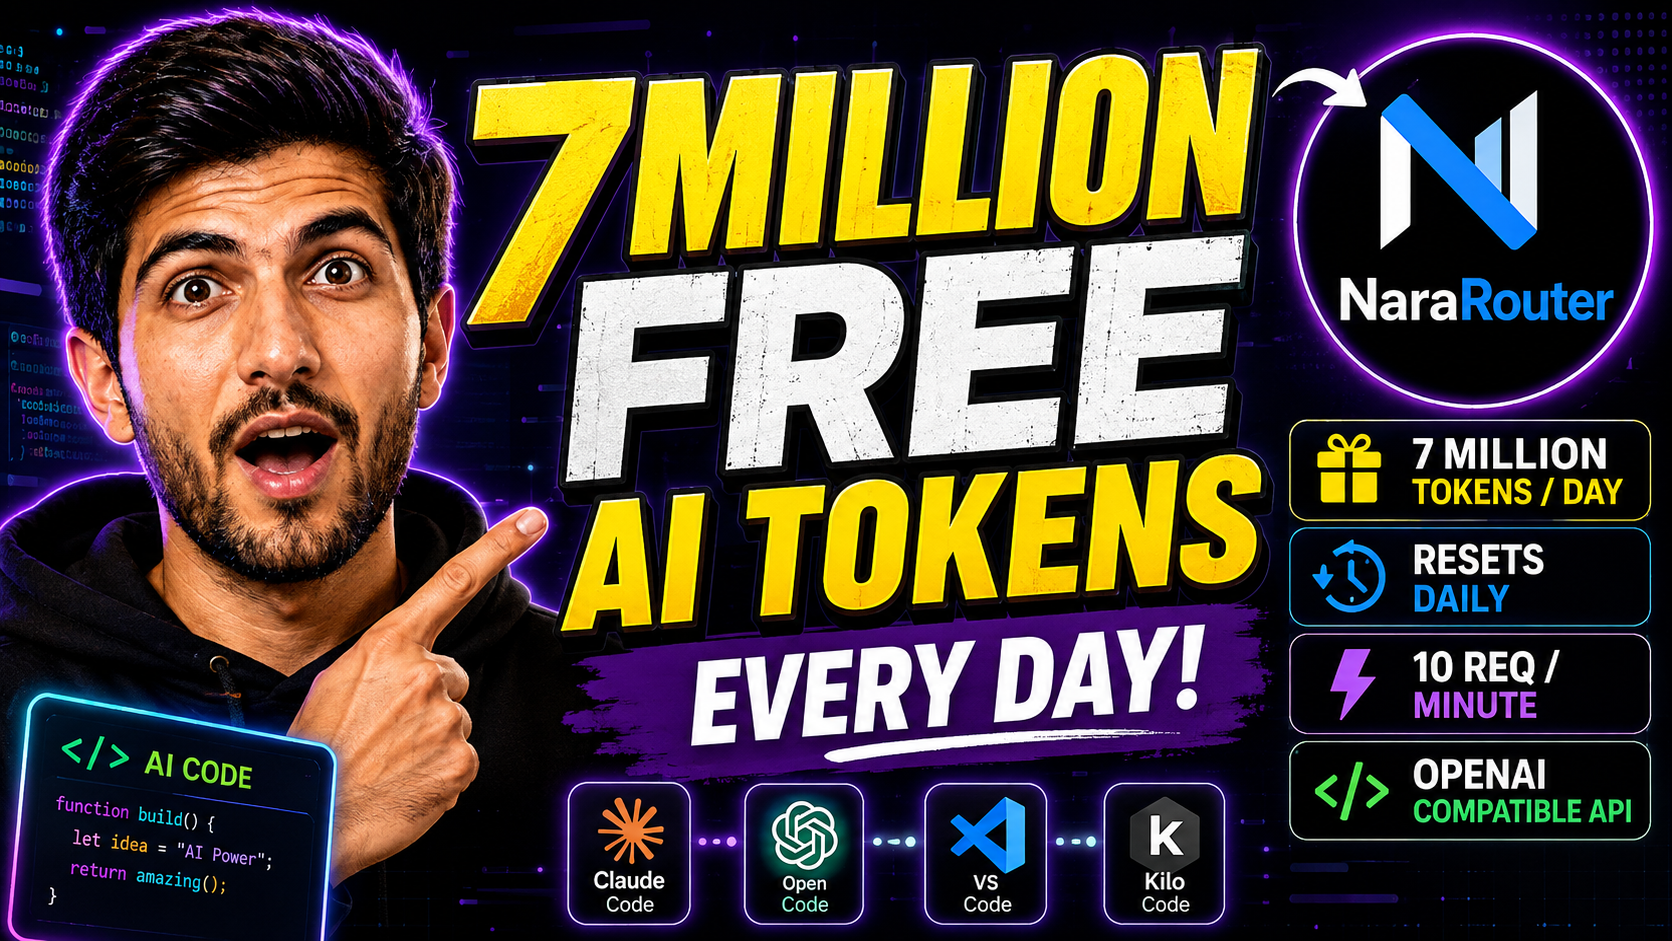
What if you could get 7 million AI tokens every single day for free and use them with AI coding tools like Kilo Code, VS Code, OpenCode, and other compatible AI agents?
Sounds too good to be true, right?
In this guide, I’ll show you how to use NaraRouter to access free AI models, generate an API key, connect it with Kilo Code inside VS Code, and actually use a free AI model to build a portfolio website.
The best part is that you don’t need a monthly AI coding subscription for this setup.
Note: Free models, token limits, verification requirements, and availability can change over time. Always check NaraRouter’s current pricing and model availability before using it.
What Is NaraRouter?
NaraRouter is an AI API gateway that allows you to access multiple AI models through a single API.
Instead of configuring every AI model separately, you can connect NaraRouter to a compatible AI coding tool and select the models available through the service.
According to the setup demonstrated in this video, the free tier provides:
- 7 million AI tokens per day
- Free AI models
- 10 requests per minute rate limit
- OpenAI-compatible API
- Multiple AI models through a single API
This makes it useful for developers who want to experiment with AI coding without immediately paying for another AI subscription.
What You’ll Need
Before getting started, you’ll need:
- A NaraRouter account
- A Telegram account for verification
- VS Code
- Kilo Code extension
- An API key from NaraRouter
You can use other compatible AI coding agents as well, but in this tutorial we’ll use Kilo Code with VS Code.
Step 1: Create Your NaraRouter Account
First, open your browser and search for NaraRouter.
Open the official NaraRouter website and click on Start Free.
You can create your account using Google.
During the signup process, NaraRouter may ask you to verify your account through Telegram.
You can select the Telegram verification option and follow the instructions.
Open Telegram, start the verification bot, and complete the verification process.
Once the verification is completed, your account should show as linked.
Step 2: Generate Your Free API Key
Once your account is ready, go to the API Keys section.
Here you’ll find the option to create your first API key.
Click on Create API Key.
Give your API key a name. For example:
Test
You can also configure an expiration date if required. The expiration option is optional in the setup demonstrated in the video.
After creating the key, NaraRouter will show you the full API key.
Important: Save Your API Key Immediately
NaraRouter shows the complete API key only once.
After closing the dialog, you won’t be able to view the full key again.
So make sure you:
Copy → Save securely → Then close the window
Never share your API key publicly or commit it to GitHub.
Step 3: Install Kilo Code in VS Code
Now let’s connect NaraRouter to an AI coding agent.
Open VS Code and open the project folder you want to work with.
For example:
YouTube Projects/
└── test/
Now open the Extensions tab in VS Code.
Search for:
Kilo Code
Install the Kilo Code extension.
Once installed, you’ll see the Kilo Code icon inside VS Code.
Click on it to open the AI coding interface.
Step 4: Add NaraRouter as a Custom Provider
Open the Kilo Code settings.
Then go to:
Settings → Providers
Kilo Code includes several popular AI providers by default.
However, NaraRouter may not appear as a predefined provider.
That’s not a problem.
We can add it as a Custom Provider.
Click:
Custom Provider → Connect
You’ll now see fields for configuring the provider.
Provider ID
For the Provider ID, enter something like:
nararouter
Make sure you’re following the format required by Kilo Code, such as lowercase letters, numbers, hyphens, or underscores where permitted.
Display Name
For the display name, you can simply use:
NaraRouter
API Format
Keep the provider API format as:
OpenAI Compatible
This is important because NaraRouter provides an OpenAI-compatible API endpoint.
Step 5: Add the Base URL
Now we need the NaraRouter API endpoint.
Go back to your NaraRouter dashboard and open the Overview section.
Look for the API Endpoint or Base URL information.
Copy the provided API endpoint.
Then return to Kilo Code and paste it into the:
Base URL
field.
Step 6: Add Your API Key
Now paste the API key you generated earlier into the:
API Key
field.
Your provider configuration should now contain:
Provider ID: nararouter
Display Name: NaraRouter
API: OpenAI Compatible
Base URL: Your NaraRouter API Endpoint
API Key: Your NaraRouter API Key
Save the provider configuration.
Step 7: Add a Free AI Model
Sometimes Kilo Code may automatically detect the available models through the API.
If the models don’t appear automatically, you can add them manually.
Go back to your NaraRouter dashboard and open the Models section.
Here you’ll find the models available under your current plan.
Make sure you’re looking at the models marked as Free.
The exact list of free models can change over time.
For example, during the recording of this video, a free Grok 4.5 model was used for testing.
The video also shows that model availability can change. For example, a DeepSeek V4 Flash model that was previously visible was no longer available at the time of recording.
This is why it’s always a good idea to check the current model list before choosing a model.
Copy the model ID and add it to Kilo Code.
For example:
Model ID: [Free Model ID]
Model Name: [Free Model Name]
You can also add multiple models if you want to experiment with different options.
Step 8: Test Your Free AI Model
Once the model has been added, close the provider settings.
Your NaraRouter model should now appear inside Kilo Code.
Select the model and send a simple message:
Hi
If everything is configured correctly, the AI model should respond.
During the original setup, there was initially an issue related to Telegram verification.
The account had been verified through Telegram, but an additional required channel also needed to be joined.
After joining the required channel and restarting VS Code, the model successfully responded.
So if you encounter a similar verification-related issue, make sure you’ve completed all required verification steps shown by NaraRouter.
Prompt I used in this Video
Create a simple, modern portfolio website for a fictional software engineer named **Alex Morgan**.

Use **HTML, CSS, and vanilla JavaScript only**. Do not use React, Bootstrap, Tailwind, or any external framework.

The website should include:

* **Hero Section** – Name, "Software Engineer" title, short introduction, and buttons for "View Projects" and "Contact Me"
* **About Section** – Short professional bio
* **Skills Section** – HTML, CSS, JavaScript, React, Node.js, Python, Git, and SQL
* **Projects Section** – 3–4 dummy projects with project descriptions and technology tags
* **Experience Section** – 2 fictional software engineering positions
* **Contact Section** – Email, LinkedIn, GitHub, and a simple contact form
* **Footer** – Copyright and social links

Design requirements:

* Clean and professional developer portfolio
* Fully responsive on desktop, tablet, and mobile
* Modern typography and spacing
* Simple navigation bar with smooth scrolling
* Subtle hover animations and transitions
* Add a mobile hamburger menu using JavaScript
* Use CSS variables for colors and maintainable styling
* No backend is required; the contact form can be a demo form

Create three files:

`index.html`
`style.css`
`script.js`

Keep the design simple, polished, and realistic rather than overly complex.
Step 9: Check the Available Free Models
NaraRouter provides multiple AI models, including free models depending on the current plan and availability.
The free model list isn’t necessarily permanent.
Models can be added or removed over time.
In the video, several free models were available at the time of recording.
So rather than relying on a fixed list, always check:
NaraRouter → Models → Free Models
before starting your project.
Step 10: Build a Website Using the Free AI Model
Now let’s put the free model to a real test.
Instead of just asking it simple questions, we’ll give it an actual coding task.
The prompt used in the video asks the AI to create a:
Modern developer portfolio website using HTML, CSS, and JavaScript.
The AI starts processing the request and automatically creates the required project files.
The generated project includes:
index.html
style.css
script.js
Once the AI finishes generating the files, you can open the project in your browser.
In VS Code, you can use Live Server / Go Live to preview the website.
And that’s it.
The AI model has generated a complete portfolio website using only:
- HTML
- CSS
- JavaScript
This demonstrates how you can use free AI models through NaraRouter with an AI coding agent instead of manually writing every line of code yourself.
How the Setup Works
The complete workflow looks like this:
NaraRouter
     ↓
Free AI Model
     ↓
API Key
     ↓
Kilo Code
     ↓
VS Code
     ↓
Your Project
You basically get access to an AI model through an API and then allow your coding agent to communicate with that model.
This is particularly useful if you’re experimenting with:
- AI-assisted development
- Coding agents
- AI-generated websites
- Small development projects
- Learning programming
- Testing different AI models
- Building prototypes
Is NaraRouter Completely Free?
NaraRouter provides a free tier, and the video demonstrates a 7 million token daily allowance along with free models.
However, you should not assume that the exact limits or model list will remain unchanged.
Free AI services frequently update their:
- Token limits
- Rate limits
- Available models
- Verification requirements
- Usage policies
So always check the official pricing and model pages for the latest information.
Important Things to Remember
1. Save Your API Key
The complete API key is only displayed once in the demonstrated workflow.
Save it securely before closing the API key window.
2. Don’t Share Your API Key
Never post your API key on:
- GitHub
- YouTube
- Discord
- Screenshots
- Public websites
- Social media
If someone gets access to your key, they may be able to use your API quota.
3. Free Models Can Change
The free model list shown in this tutorial is based on what was available during recording.
A model that is free today may not be free later.
4. Verification May Be Required
The signup flow shown in the video includes Telegram verification and may also require joining a required channel.
These requirements can change.
Final Thoughts
If you’re experimenting with AI coding agents and don’t want to immediately pay for another AI subscription, NaraRouter’s free tier can be an interesting option to explore.
In this tutorial, we went from:
Creating an account → Generating an API key → Connecting NaraRouter to Kilo Code → Selecting a free AI model → Testing the model → Building a portfolio website
all through a single workflow.
The biggest advantage is that you can experiment with multiple AI models through an API-compatible setup and integrate them into your existing AI coding workflow.
If you’re interested in AI coding, Claude Code, OpenCode, Kilo Code, AI agents, free AI APIs, and developer tools, make sure to check out more tutorials on GeekyBeginners.
Watch the Full Video
I’ve explained the complete setup and demonstrated everything practically in the video.
Watch the full tutorial to follow the setup step-by-step.
Have Questions?
If you face any issues while connecting NaraRouter with Kilo Code, let me know in the comments.
Also, if you discover a new free model or notice that the available models have changed, share it in the comments so other developers can benefit too.
Happy Coding! 🚀